Tool 7.2 Fertiliser test strips
The two key questions regarding fertiliser use in pastures are:
- Which fertilisers will give a significant boost to pasture growth?
- At what rate should such fertiliser be applied?
Test strips are useful for testing which fertilisers (both macro-nutrients and trace elements) will give a significant boost to pasture growth but are not as well suited to the question of fertiliser rate. It takes too many strips, and accurate cutting of pasture and measuring biomass, to assess an optimum rate. If you get a response in your test strips, seek local advice as to an appropriate rate.
Test strips are not suitable if a rapid decision is needed. Ideally, the test strips will be applied and assessed this year as the basis for fertiliser decisions in subsequent years. Test strips are best put out before the break of season so that responses can be observed over the main growing season.
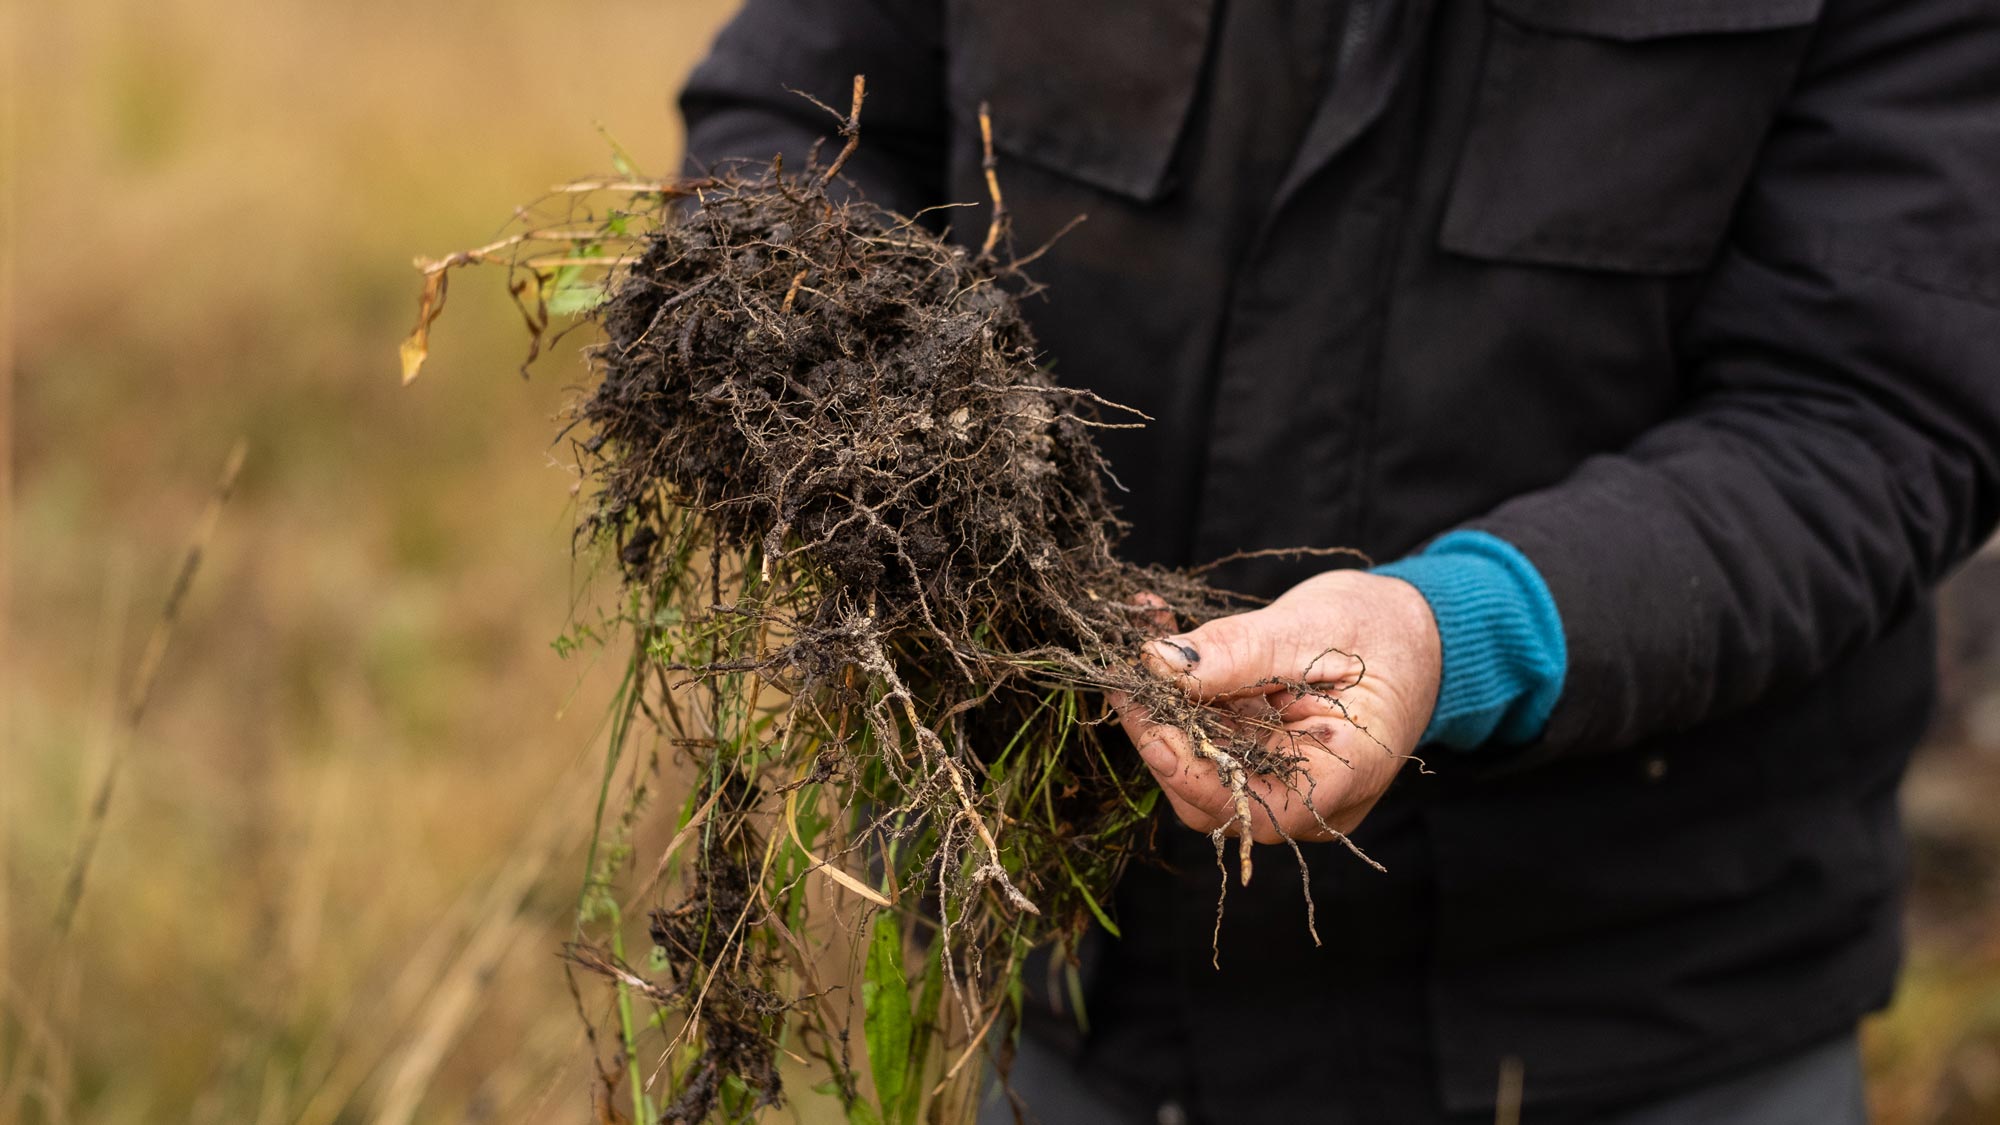
Soil tests are invaluable for diagnosing many soil health issues (see tool 6.7 in MMFS Module 6 Healthy Soils). Whilst conducting laboratory soil tests to assess the likely responsiveness and rate of fertiliser to use for macro-nutrients (nitrogen (N), phosphorus (P), potassium (K) and sulphur (S)) is the best practice method, other methods can be employed to complement these tests.
Plant tissue tests can be used to assess the need for trace elements. Samples need to be taken before the legumes flower. Ensure the lab is ASPAC accredited for the tests you want conducted. Enquire about the correct sampling protocol for the plants you are testing for.
Laboratory soil tests are not as useful for measuring trace elements or for soil conditioners (such as gypsum), and this is where fertiliser test strips can be used to provide further information to inform your decision making based on specific information from your paddock.
There are two common methods of putting down fertiliser test strips, both are detailed below.
Small, hand-spread strips
A good size is 20 m long x 2 m wide – for this size, the sums are quite easy; simply divide the rate per hectare you wish to test by 250 and apply that evenly to the test strip (i.e. 1 kg of fertiliser is equivalent to 250 kg/ha). Because the areas are quite small, it is advisable to put down two sets of test strips within a paddock. After you have weighed out the fertiliser, six of these small test strips can be put down in about 45 minutes.
- Mark the four corners of each strip and run twine around them to ‘outline’ the test strip
- Run the test strips down the slope to minimise the chance of nutrients washing from one strip to the next
- Apply the fertiliser as evenly as possible – going over the strip twice usually gives better uniformity than a single application
- Remove the twine but leave the corner posts so you can easily locate the strips (mark the strips on a map so you know what has been applied to each strip)
- Run the test strips parallel to each other and leave a good distance (say 5 m) between strips to make assessing the growth response easier. Narrow test strips are not well suited to a crisscross design because the area of overlap (2 m x 2 m) is too small.
Larger, machine-spread strips
These should be at least 100 m long (can run the length of the paddock) and the width of the spreading machine.
- As for hand-spread strips, it is essential to mark the corners of the strips (with visible fence posts, GPS locations or drop pins on a map app) and draw a map so you know what has been applied to each one.
- Reasonably careful calibration of your spreader is important, as is cleaning out the spreader between different strips, especially if you are testing responsiveness to trace elements.
- Leave at least 10 m between strips to make assessment easier.
- Machine-spread test strips (if the test strip is at least 5 m wide) are suited to either parallel strips or to a criss-cross design. Criss-cross designs are useful if you want to test ‘combinations’ of fertiliser (say P and N, or P and molybdenum).
This technique is best suited to ‘drop’ type spreaders as ‘spinner’ type spreaders don’t have a very definite ‘edge’. If you have a spinner spreader, concentrate you assessment on the middle of the test strips for the most accurate results.
Assessing the test strips
Stock need to be kept off the test strips to make it easier to see the effects. A temporary fence can be established. Many producers place test strips in paddocks closed up for hay cutting or when evaluating nutrient responses for hay or silage. Strips can also be placed in rotational grazing systems and assessed before the stock enter the paddock each time.
Things to look for when comparing test strips to the rest of the paddock include:
- Visual differences in biomass. Differences of about 20% in additional growth can be observed by eye.
- Height of the pasture.
- Colour and ‘healthiness’ of the pasture sward.
- Amount or density of the desired pasture species.
- Evenness of the pasture.
Any impact on pasture composition, including if there are more or less weeds in the test strips.
Further information
Lisa Warn Ag Consulting has developed the Setting up fertiliser test strips to help identify constraints to pasture growth fact sheet and video.
Grains Research & Development Corporation (GRDC) fact sheet Using test strips to fine-tune fertiliser recommendations discusses how to use test strips to their best effect.